Quick Start Guide
Get your pool service business up and running on PoolAxis in under 30 minutes. This guide takes you from signing up to your first completed job.
You have full access to everything during your trial. There's nothing to configure before you start — just sign up and go.
Step 1 — Sign up and name your company
Go to poolaxis.app and click Start free trial. Enter your name, company name, and email address, then set a password. Click Create account.
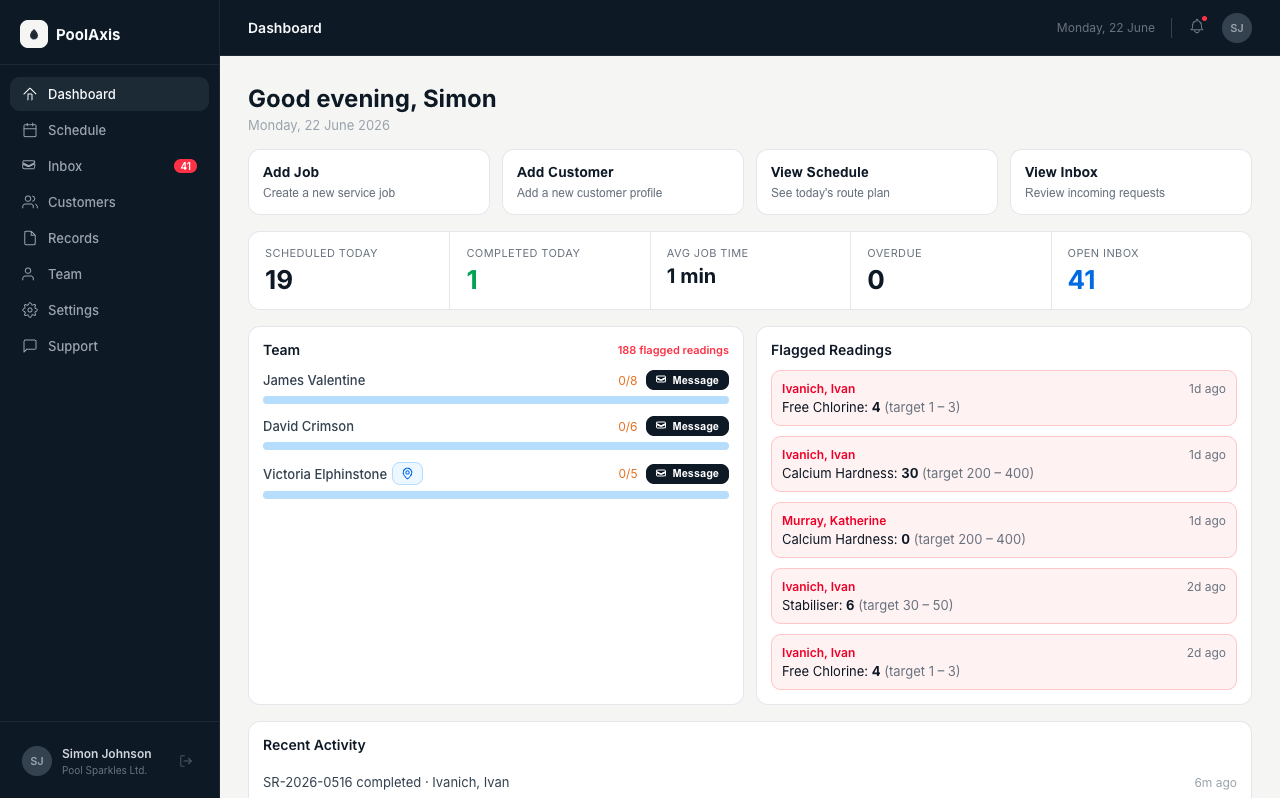
You'll land on the PoolAxis dashboard — your home base for managing the whole business.
Step 2 — Add your first technician
Go to Team in the left sidebar and click + Add technician. Enter the technician's name and email address, then click Send invite.
They'll receive an email with a link to set their password and download the PoolAxis mobile app. They can start working as soon as they've accepted the invite.
Ask them to check their spam folder. You can resend the invite from the Team page at any time.
Step 3 — Add your first customer and pool
Go to Customers in the sidebar and click + Add customer. Fill in the customer's details, then add their pool:
Customer details
Name, address, email, and phone number. The address is used for route planning on your technicians' run sheets.
Pool details
Pool type (chlorine, salt, or spa), volume in litres, and any access instructions or warnings for your technicians — for example, "dog in yard" or "gate code: 1234".
Service plan (optional)
Set a service frequency — weekly, fortnightly, or custom — and PoolAxis will auto-schedule recurring jobs for this customer going forward.
Step 4 — Schedule your first job
Go to Schedule in the sidebar and click + Add job. Select the customer and pool, choose a date, and assign a technician. Click Save.
The job appears as a card on the schedule under the assigned technician's column. Your technician will see it on their run sheet in the mobile app.
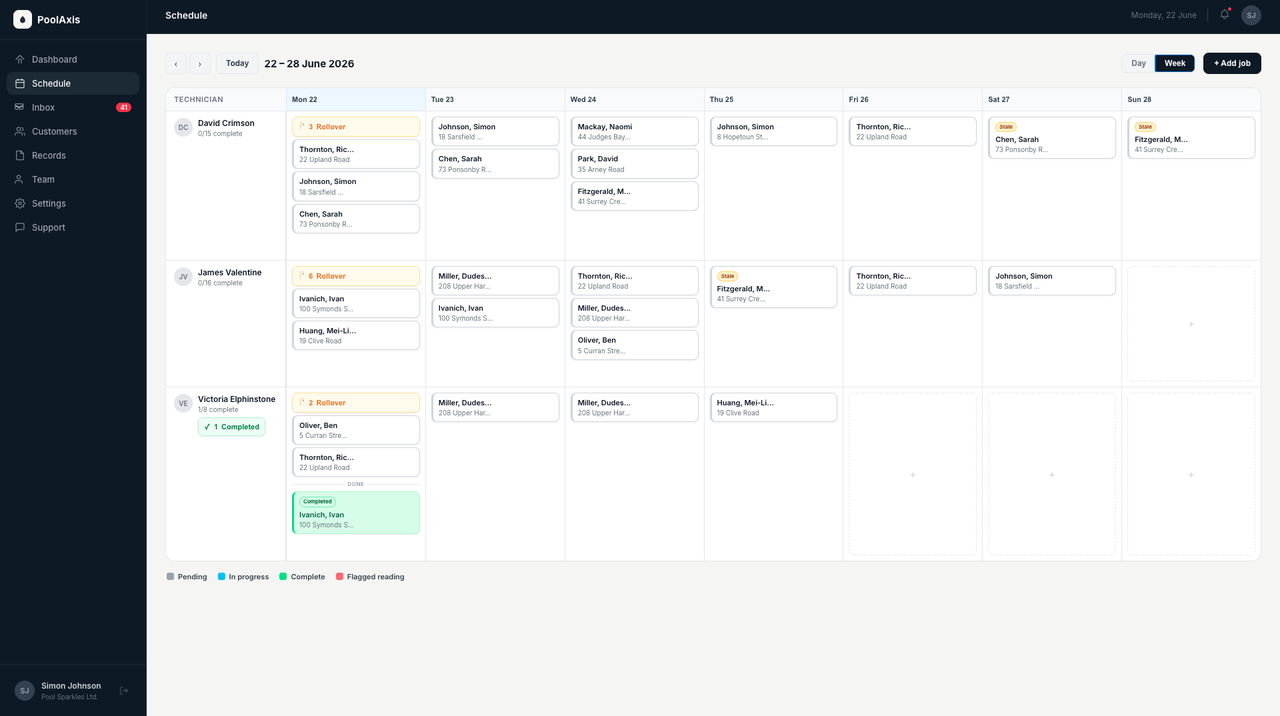
Use the weekly view on the Schedule page to drag and assign jobs across different technicians and days. Jobs auto-sort into route order on each technician's run sheet.
Step 5 — Review your first completed service report
When your technician finishes a job in the mobile app, a service report is generated automatically. Go to Service Reports in the sidebar to review it.
Each report shows the chemical readings taken, the LSI water balance score, work notes, and any photos. If a reading is outside the safe range, it's flagged in red.
Step 6 — Invite the pool owner to Poolside (optional)
Pool owners can track their service history and water chemistry through the Poolside app. To invite them, open the customer record, scroll to Pool Owner, and click Send Poolside invite.
They'll receive an email with a link to download the Poolside app and create an account. They can see every service report for their pool, request a visit, and view their water chemistry history.
There's no extra charge for inviting pool owners. It's a value-add that helps your customers stay connected to their pool's health between services.
You're set up — what's next?
- Add your remaining customers and pools — see Managing Customers.
- Bulk-add your schedule for the week — see Managing the Schedule.
- Add more technicians and manage their assignments — see Adding Team Members.
- Set up billing before your trial ends — see Billing & Subscription.